Custom LED Panels for Displays, Furniture and Product Housings
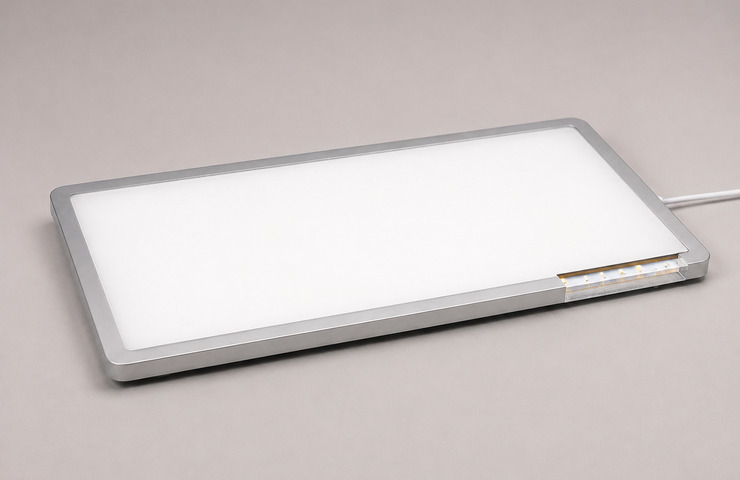
Bring your illuminated-surface concept to a custom LED panel manufacturer that develops the optical layers and mounting together. VST helps narrow the construction choices around your visible opening and available depth, giving you a practical starting point for sample development before every detail is fixed.
Separate the visible light area from the outer panel dimensions
Choose edge-lit or back-lit construction around the available depth
Evaluate a panel sample with the intended facing material
Tell us the intended use and approximate panel size. Sketches or photos are useful; the final outline can remain undecided.
Match the Illuminated Surface to Its Surroundings
A graphic, furniture recess, or equipment face changes how custom LED panels are seen and supported. VST matches the optical construction to the facing material, mounting depth, and access available in each setting.
Backlit retail graphics
Operating environment
Illuminated displays viewed through printed or translucent facing material.
Buyer requirement
Keep merchandise and graphic areas evenly presented.
Design constraint
The facing layer can reveal bright edges or mask output.
Design direction
Match the panel's optical stack to the final graphic.
Furniture-integrated light surfaces
Operating environment
Flat recesses beside joinery, concealed cables, and visible finishes.
Buyer requirement
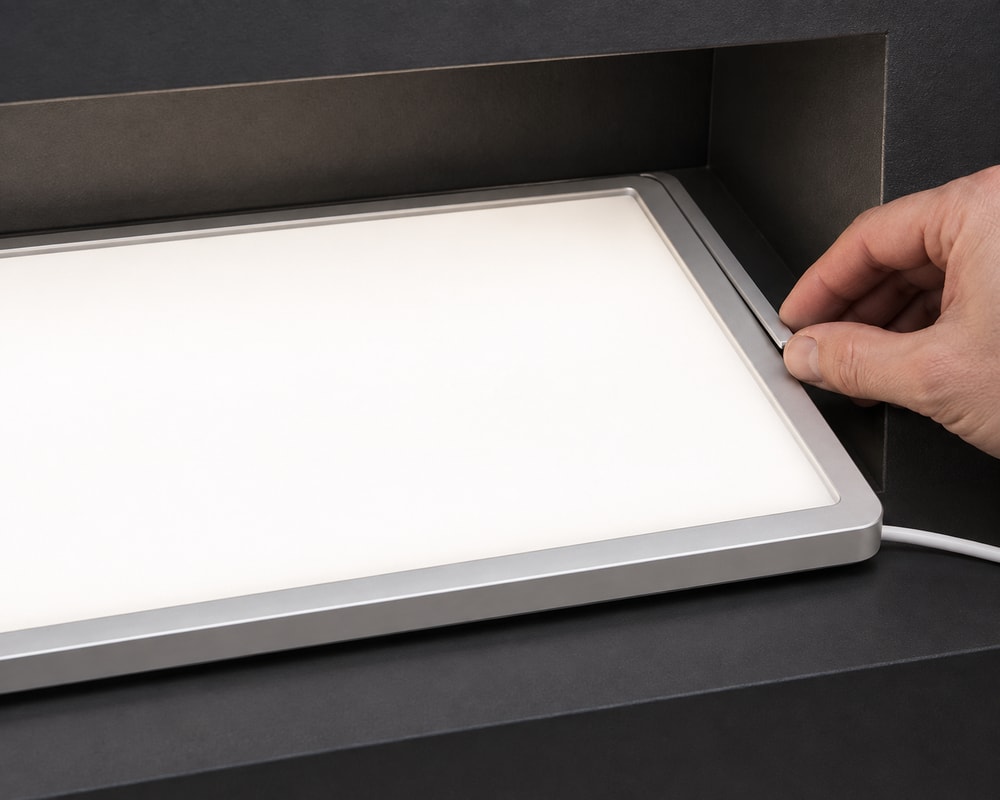
Fit a custom light panel without a bulky border.
Design constraint
Limited depth restricts support and optical mixing space.
Design direction
Coordinate the active area with the finished furniture opening.
Architectural wall or ceiling features
Operating environment
Larger illuminated openings seen from varied distances and angles.
Buyer requirement
Maintain an orderly luminous surface across the feature.
Design constraint
Support locations and visible joints can interrupt the effect.
Design direction
Relate panel boundaries and fixing points to the architectural grid.
Avoid Common Flat-Panel Integration Setbacks
The luminous aperture is smaller than expected
Purchasing risk: An outside dimension can conceal a wide non-illuminated border.
VST solution direction: Define the visible opening independently from the cut outline and frame.
Corner brightness differs from the center
Purchasing risk: Uneven appearance becomes conspicuous behind pale graphics or translucent faces.
Confirm: Final facing-material sample.
VST solution direction: Evaluate the optical stack as installed, rather than judging the uncovered light source.
A thin panel flexes during handling
Purchasing risk: Deflection can disturb optical layers or produce an inconsistent fit.
Confirm: Support positions for the actual opening.
VST solution direction: Balance the backing and edge support with the installation depth instead of thinning every part.
Define the Panel Area, Optical Stack, and Interfaces
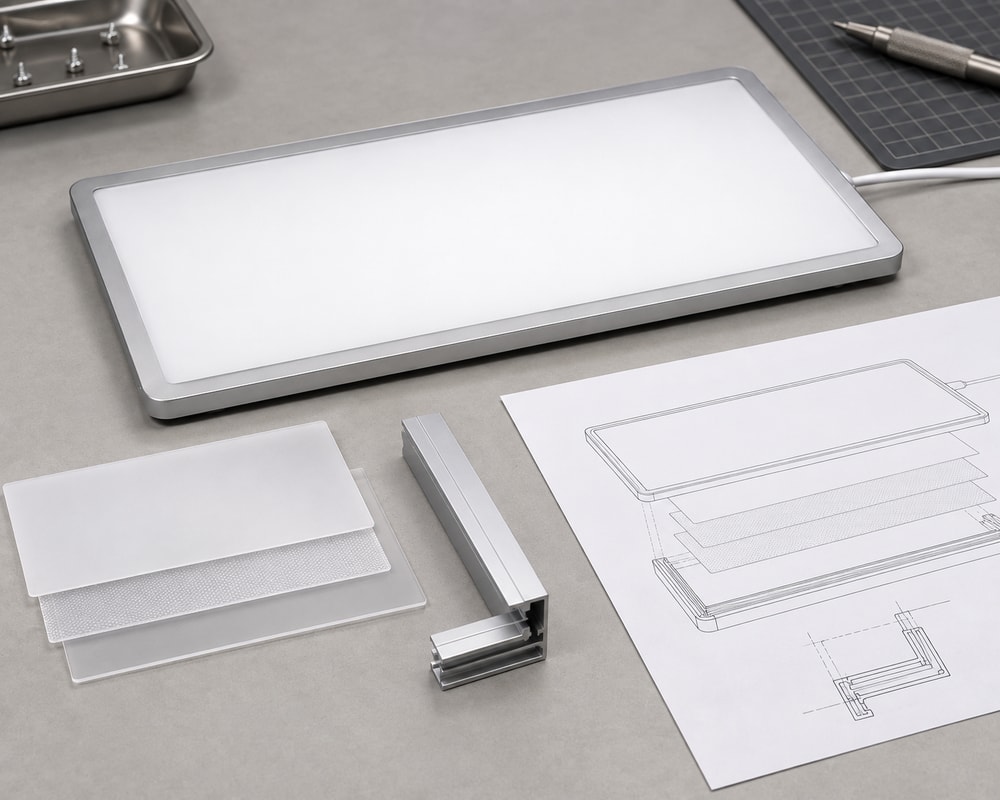
The outline, optical layers, supports, and supply interface are customizable. Adapting a suitable existing panel platform differs from developing a new light guide, frame, or source layout; the latter requires additional engineering.
Outline and active aperture
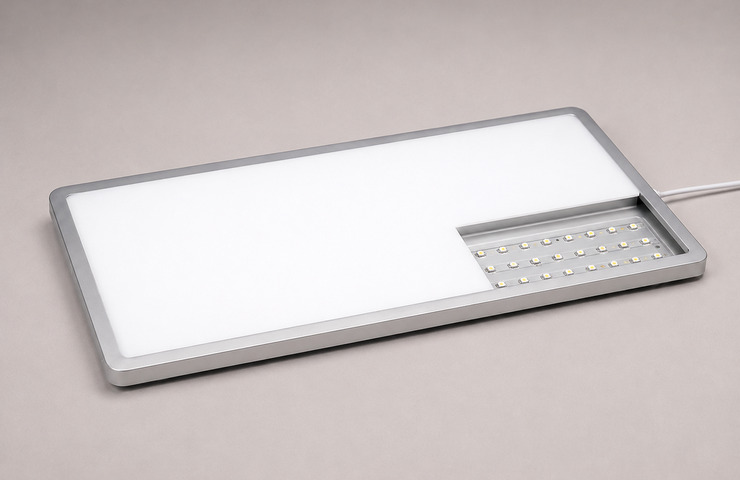
Custom size LED panels may use a revised outline within an existing platform. At our custom LED panel factory, new borders, holes, or divided light areas can require different frame parts or optical-guide development.
Buyer input: Non-illuminated border and restricted zones.
Light guide and diffusion
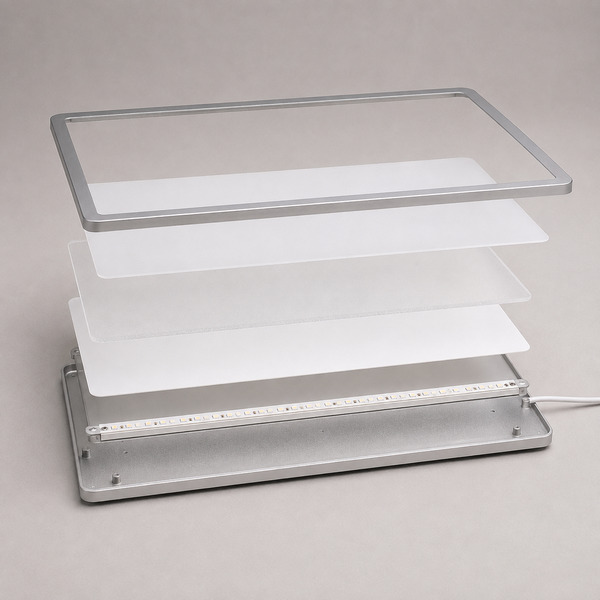
Custom acrylic light panels and back-lit diffuser assemblies distribute light differently. The material stack, extraction approach, and source spacing affect uniformity, transmission, thickness, and the appearance of edges through a facing layer.
Buyer input: Viewing distance and acceptable edge appearance.
Mounting and rear clearance
Fixing points, supports, backing, and cable exits can follow the host structure. Concealed attachments improve presentation, but removal access and cable bending still need usable space behind or beside the panel.
Buyer input: Accessible service side and connector clearance.
Electrical and color requirements
A custom LED light panel can be developed around a defined supply interface, light-color target, and control method. Higher output and added control functions must fit the available thermal path and internal arrangement.
Buyer input: Supply/control interface and color-priority reference.
Edge-Lit or Back-Lit: Compare the Practical Trade-Offs
Start with the depth behind the visible opening and the edges available for light entry. Compare both constructions using the same required aperture and facing material, not outside dimensions alone.
Edge-Lit Acrylic PanelBack-Lit Diffuser Assembly
Decision factor
Edge-Lit Acrylic Panel
Back-Lit Diffuser Assembly
Buyer guidance
Best-fit constraint
Slim installations with usable light-entry edges
Openings with room behind the luminous face
Start with the available depth, then check usable light-entry edges.
Source arrangement
LEDs couple light through an acrylic guide
Rear light sources illuminate the diffuser
Keep the chosen light-entry path clear of mounting hardware.
Uniformity sensitivity
Guide pattern, span, edge treatment, and assembly
Source spacing and optical mixing distance
Evaluate the intended face, not only an uncovered sample.
Main trade-off
Thin construction requires careful optical-guide development
Greater depth may be needed to hide source points
Compare total installed depth rather than frame thickness alone.
Supporting structure
Protect guide edges and keep layers seated
Provide rear support without obstructing light mixing
Place supports without disturbing the optical layers or illuminated opening.
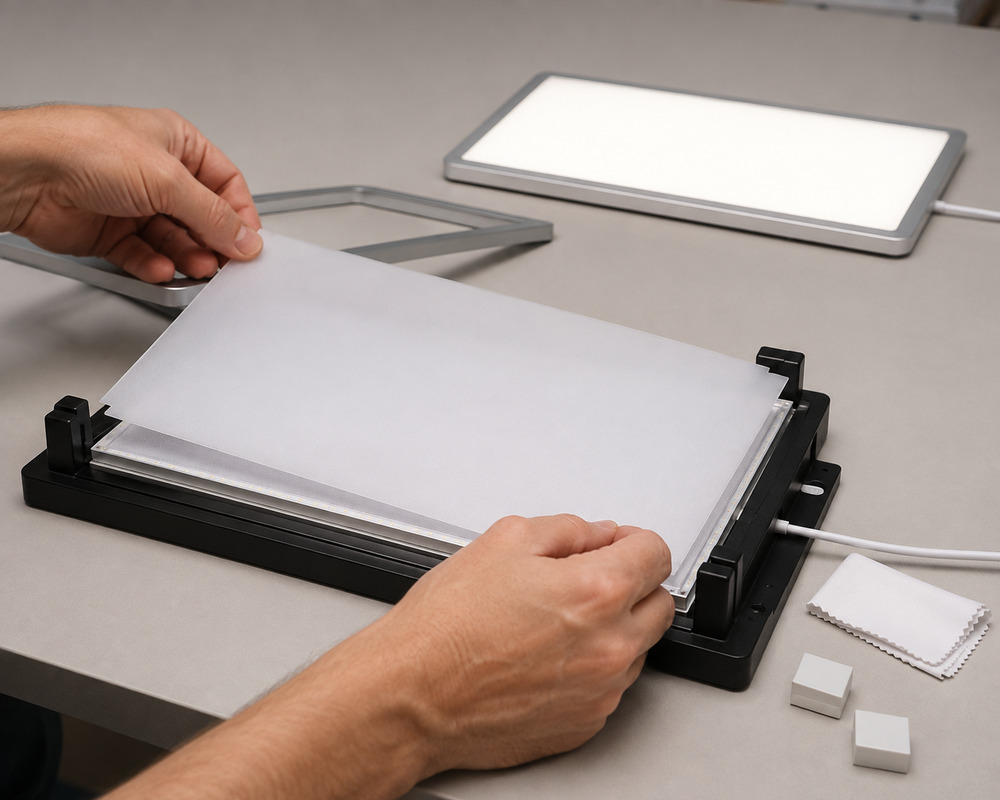
For custom LED panels, VST brings the outline, optical layers, and supporting frame into a sample you can evaluate. Working as your custom LED panel OEM supplier, we then document the selected layers, mounting positions, and production inspection points.
01
Aperture definition
VST work: VST separates the outside outline from the luminous opening and locates the fixed mounting boundaries.
Stage output: An outline drawing separating frame dimensions from the visible opening.
02
Optical sample
VST work: The chosen guide or diffuser arrangement is assembled to expose edge behavior and viewing effects.
Stage output: An optical sample showing the selected layers behind the face.
03
Surface refinement
Customer input: Observed bright or dark region.
VST work: The team adjusts the edge masking or support detail responsible for the observed border mismatch.
Stage output: A revised edge or support detail addressing the visible mismatch.
04
Build documentation
VST work: Panel dimensions, optical layers, fixing positions, and inspection points are documented for manufacture and later replenishment.
Stage output: A panel build specification listing layers, fixings, and inspection points.
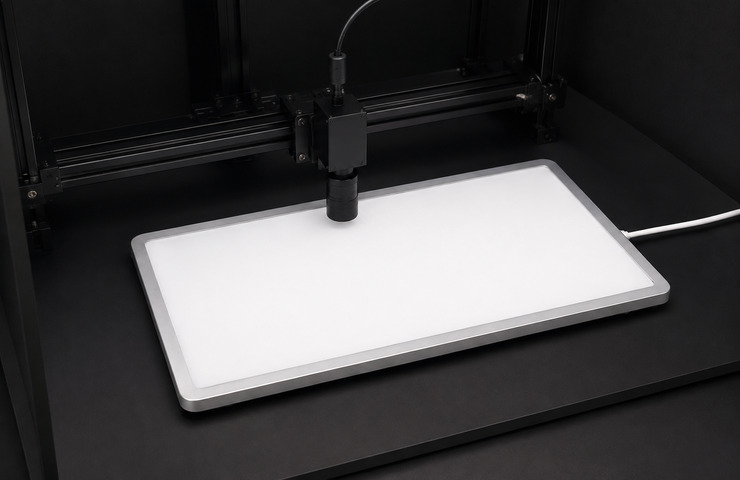
Custom LED panels need both measured output and an assessment of the visible surface. The following checks address different questions; a visually uniform photograph alone does not establish luminous output, thermal performance, or dimensional compatibility.
Luminous output and color measurement
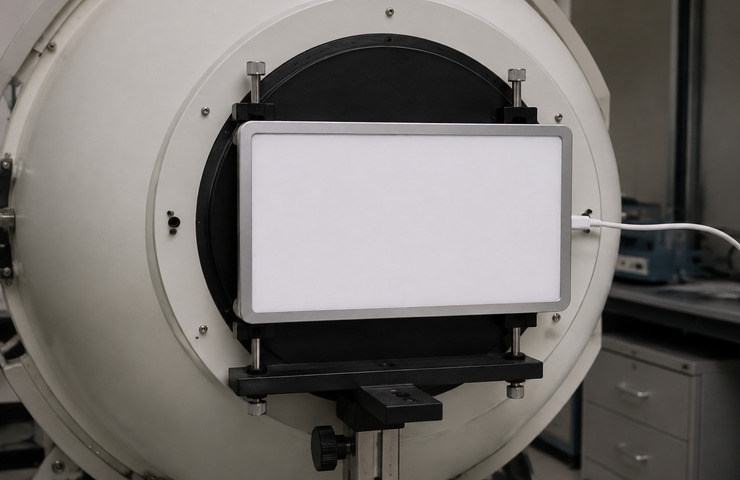
Purpose: Measure custom LED panels against the specified light-output and color targets.
Method: Evaluate the representative assembly with an integrating sphere under defined electrical conditions.
Acceptance criteria: Luminous output, CCT, and color characteristics for that sample.
Evidence: A measurement record depends on the project scope.
Surface uniformity evaluation
Purpose: Locate bright edges, dark regions, or visible source patterns.
Method: Inspect the illuminated face at intended viewing positions; use mapped readings when specified.
Acceptance criteria: Appearance and uniformity boundaries for the active area.
Evidence: Visual findings or surface measurements are configuration-specific.
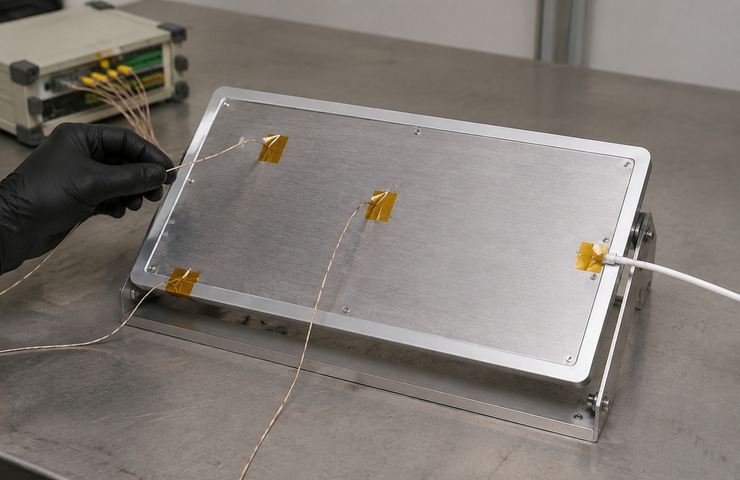
Panel thermal evaluation
Purpose: Assess heat at source zones, backing, and connection points.
Method: Run the sample on its intended support and measure the relevant locations under defined conditions.
Acceptance criteria: Thermal limits for the selected materials and assembly.
Evidence: Reporting covers the evaluated mounting arrangement.
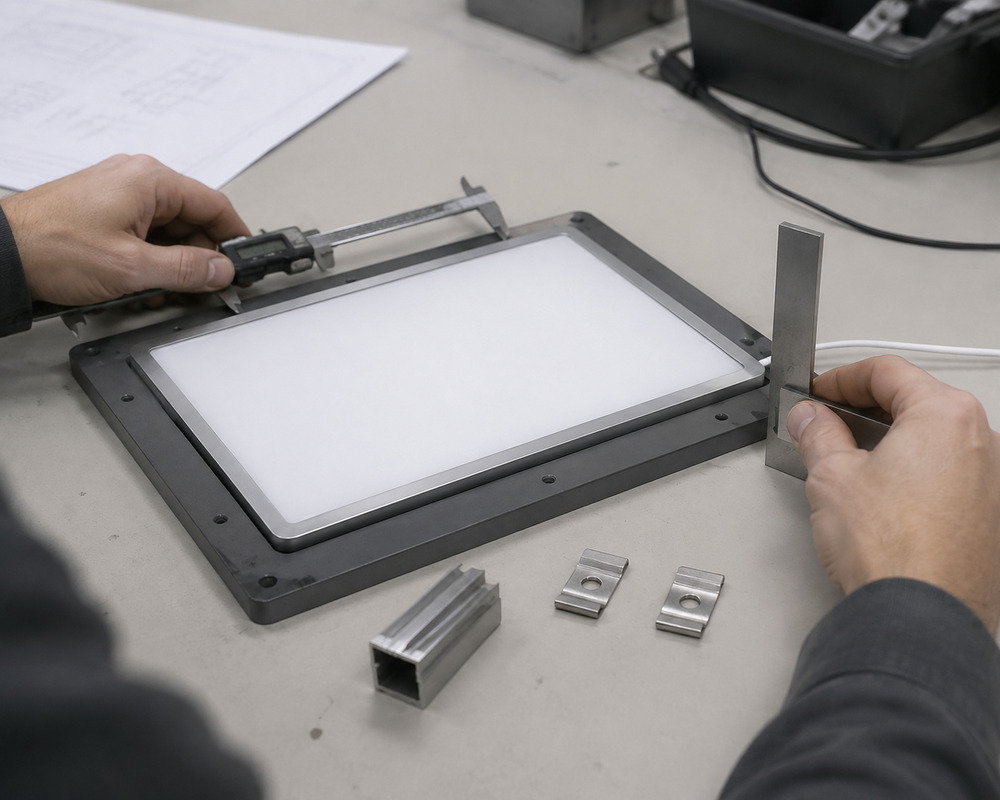
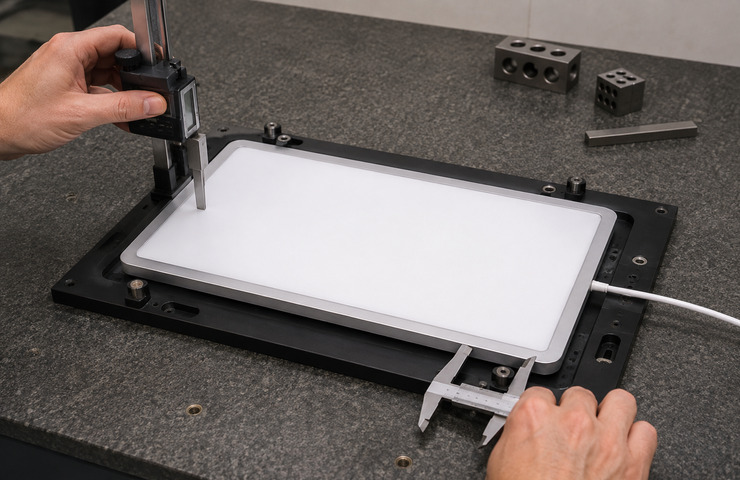
Geometry and assembly inspection
Purpose: Check aperture position, flatness, layer seating, and cable clearance.
Method: Measure drawing dimensions and examine workmanship on the representative custom LED panel.
Acceptance criteria: The released drawing and applicable assembly criteria.
Evidence: An inspection record follows the defined control scope.
Documentation Tied to the Selected Panel
Panel outline and aperture reference
Project Specific
Separates overall dimensions, visible opening, support positions, and the chosen cable exit.
Optical construction specification
Project Specific
Describes the selected light-guide or diffuser stack and the relevant appearance criteria.
Panel sample measurement record
Project Specific
Associates reported optical or thermal results with the actual assembly and operating conditions.
The outside panel size was straightforward, but the visible opening needed more attention. Separating those two areas made it easier to coordinate the frame with our display artwork.
Retail Display CompanyDesign Manager · France
Active-area planning for a backlit graphic.
We were comparing thinness with the quality of the luminous face. The discussion of the two constructions gave our team a clearer basis for choosing the depth we could accommodate.
Our concern was protecting the panel corners and optical surface during assembly. Addressing the support and handling details together helped us plan the next stage of the furniture project.
Furniture CompanyOperations Manager · Denmark
Handling arrangement for an integrated luminous panel.
The normal MOQ starts at 500 units per model for light customization and 1,000 for high customization. Adapting a panel platform differs from developing substantial new optical, structural, electrical, PCB, or production features. These are starting quantities; the quotation establishes the final MOQ for your chosen construction and development scope.
Sampling support
Sample development for custom LED panels incurs processing charges, with possible additional tooling or mold costs when new resources are required. Eligible sample costs may be refunded or applied as credit when a subsequent production order is placed. The quotation or order terms record the agreed method, applicable amount, and qualifying order.
Lead-time factors
Normally allow 15–25 working days for light-customization samples and 20–30 for bulk production. For high customization, normally allow 30–50 working days at sample stage and 25–35 for bulk manufacturing. Work starts after required technical information and applicable sample/tooling fees, deposit, or other order conditions are complete. Agreed material preparation for stable demand can accelerate later scheduling; these ranges are not fixed delivery promises.
Tooling / NRE
Panel development may require a dedicated profile, optical part, PCB, fixture, or mold. The quotation identifies any tooling or NRE charge and its purpose. Eligible tooling or mold costs can be credited toward payment for a later production order under a project-specific arrangement, including the qualifying order, amount, and method. Automatic full refunds are not assumed.
Supply stability
Keeping one custom LED panel supplier for the selected build helps maintain its component history. VST coordinates the light-guide or diffuser stack, source layout, and frame through component sourcing and production controls. For stable-demand projects, agreed key materials can be prepared or reserved to support replenishment. Finished-panel stock is separate from this material arrangement.
Packaging & logistics
Panel packaging should separate optical surfaces and support vulnerable corners, edges, and cable exits. Customized instruction sheets and user manuals can accompany your brand artwork, barcodes, product labels, and carton marks. VST also develops order-specific packaging and coordinates shipping, with carton dimensions, pack quantities, freight conditions, and transit estimates based on the actual panel and destination.
Resolve the Open Questions Before Ordering Custom LED Panels
Can I keep the final graphic undecided at the start?+
Yes, while the graphic remains an open part of the appearance evaluation. Initial work on custom LED panels can establish the physical opening and possible optical construction before final artwork is available. The eventual graphic material and print density still need evaluation with the sample before its visible brightness and uniformity are treated as settled.
How can I request comparable prices for custom LED panels?+
Give each quotation the same supply boundary. Ask your custom LED panel supplier to distinguish the illuminated panel from any facing, mounting hardware, or control equipment.
Price item
Make explicit
Panel assembly
Selected optical construction
Facing layer
Included or supplied separately
Accessories
Mounting and connection scope
Can one large panel replace several smaller panels in the design?+
Possibly, but compare the complete display rather than only the panel count. One larger face removes joints while changing support, optical span, handling, and access. A larger custom LED light panel is therefore an alternative construction to evaluate, not a guaranteed drop-in consolidation of the smaller units.
Which project documents should be included in the quotation?+
Specify the documents needed for your installation or acceptance process alongside the product scope. For custom LED panels, the required records may differ between projects.
Document need
Scope to agree
Mechanical drawing
Outline, aperture, and fixings
Optical information
Sample and measurement conditions
Project report
Applicable method and supplied record
How should a frame change after sampling be handled?+
Identify whether it changes the visible aperture, support locations, or layer seating. Keep unaffected panel requirements unchanged and assess the affected details against the sample. Custom LED panels can look similar when unlit while a changed overlap alters the luminous border, so the updated frame and illuminated face need to be considered together.